![]()
Home Hit your BACK button to return to a previous page
Photoshop Plug-ins
Color Mechanic Pro Plug-in
Color Mechanic Pro (and the non-pro version) are Photoshop plug-ins available from Digital Light and Color. The difference between the regular version and the Pro version is that in the Pro version you can use it on 16-bit images as well as CMYK images. They cost $29.95 and $49.95 respectively and are available on-line.
How does it work? After installation, it can be found in the filters drop-down menu. You get this window which shows your original image and the changed version. All that you do is click on an area that needs adjustment. Then in the color wheel a point comes up. You then drag an arrow from that point until you get your desired color.

Dragging out decreases saturation and dragging in increases saturation. You can also adjust the brightness of the selected color.
This image needed a little more punch. Using the dropper tool, I first selected the flowers and gave them a bit more saturation. I also removed some blueness from the waterfall and increased the saturation of the rocks and greenery.
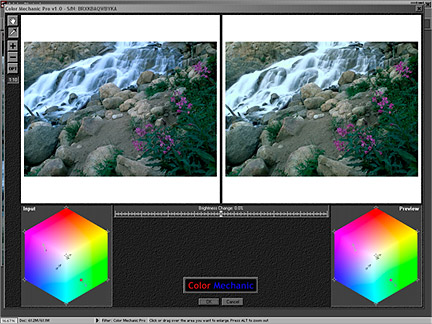
Doing the above adjustments with the standard Photoshop tools, these adjustments may have taken 15-20 minutes. Instead it only took maybe 2-3 minutes to get the image the way I wanted.
There is a manual available for download but it is really not needed. This plug-in is very easy to use.
NEW--->May 30, 2002
Color Mechanic Pro 1.1 Plug-in
What is new with this version?
You can zoom beyond 1:1 to 10:1
You can now zoom the color hexagons to better fine tine your adjustments
There is an undo/redo feature (only available on the pro version)
You can check a box to just visualize the affected regions
You can now vary the amount of adjustment with a slider
Numeric RGB and CMYK readouts (only available in the pro version)
Inactive buttons now become grayed out
The selection of control points is now easier
The new version has the familiar interface with the addition of some new buttons.
![]()
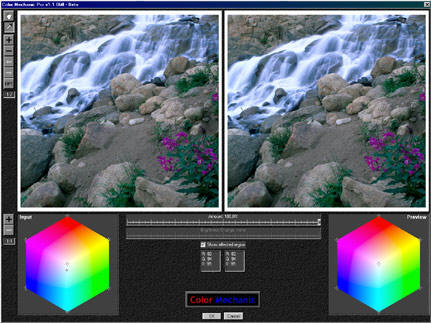
Here is a close-up of the zoomed color hexagon. It zooms in on the active control point with the +/- buttons on the top left of the left screenshot below.
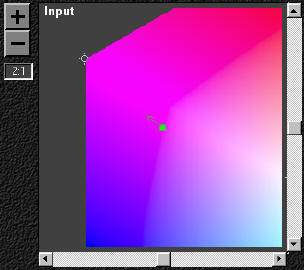
You can get very close to make extremely fine adjustments to images. 6:1 is the max for the color hexagon.
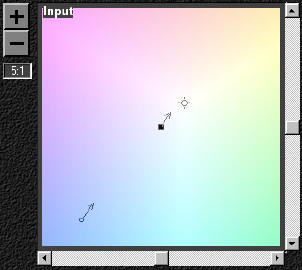
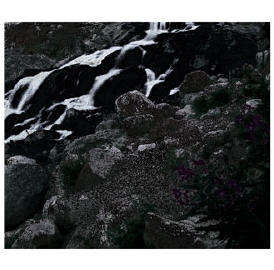
To visualize just your changes... Just check the box below the brightness change slider.

This is what you would then see.
Registered users of a previous version can use their current serial number (unregistered uses can't save their changes).
![]()
Nik Sharpener Pro Plug-in
By far the best way to sharpen any image. Whether it is for output to an inkjet printer or to the web.
It is so great because of the way it sharpens. It can sharpen different areas depending on how much detail they contain (it will not over sharpen fences and foliage). It also doesn't mess with colors because of hue-protection.
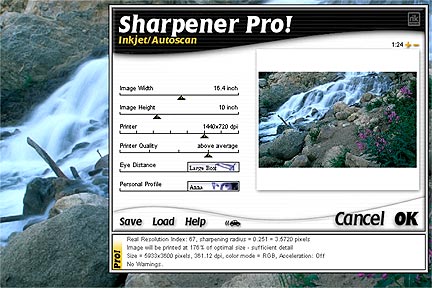
The interface is very easy to use.
![]()